
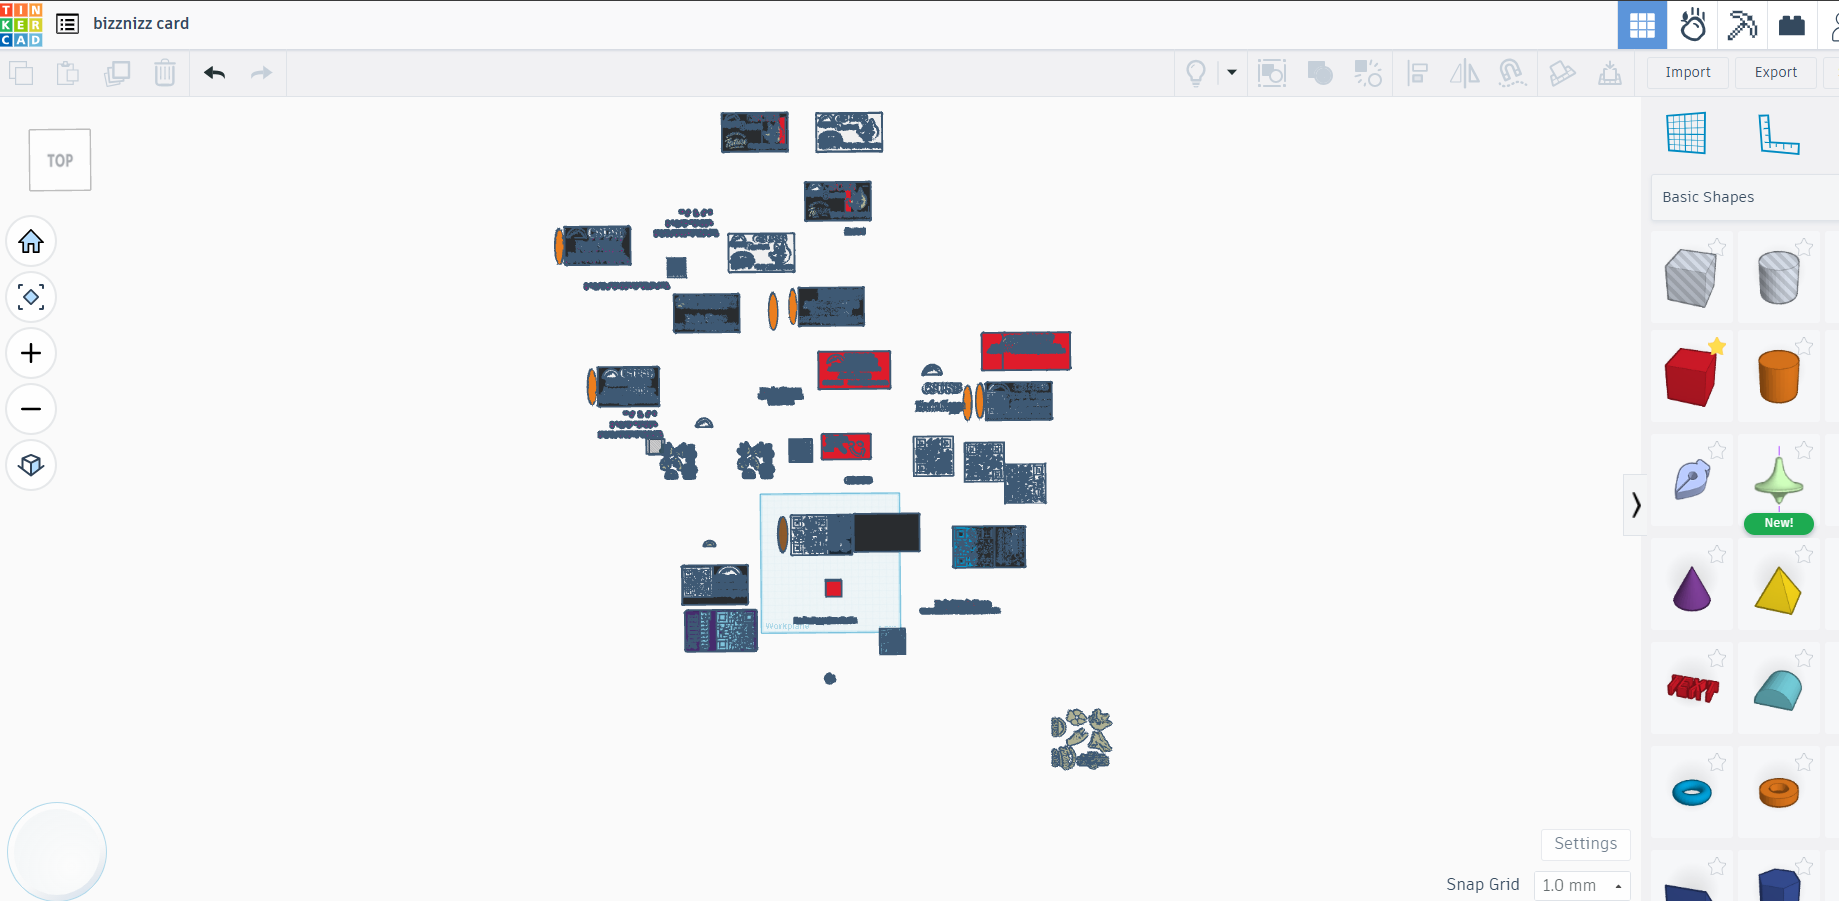
This will be a short write up. The shape of the card is easy enough, and all major parts of it can be made in TinkerCad. Below I have a zoomed out screen shot of all the major versions of the card I made.
I also have a close up shot of the main card I'll be going over, that has my name, title, a small paw icon, and the QR code.
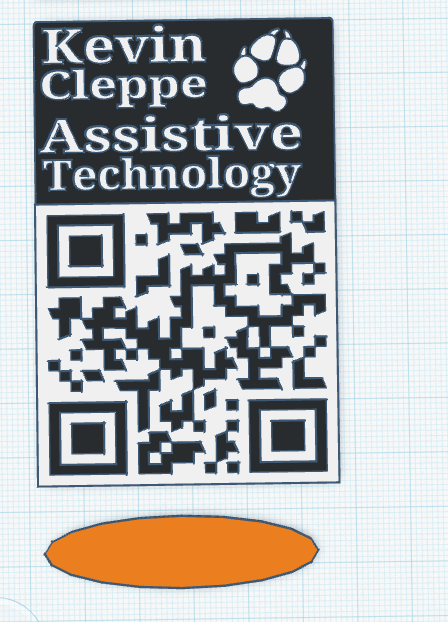
The card is just a squished and extruded cube, some text, and that's it. The QR code and the paw symbol were both SVG symbols, which can be easily imported into your preferred 3D modeling platform and converted into a full model. However, if you only have a PNG, you can convert it to an SVG file using InkScape. I have a video linked below that goes into it in better detail than I could.
Now that you have STL made with the appropriate items, open it up in the slicer porgram of your choice (I use Cura), and look for the Extension, Post Processing, Modify G Code option:
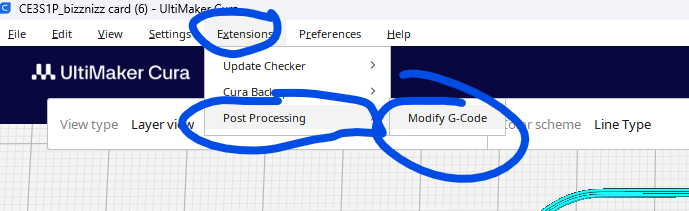
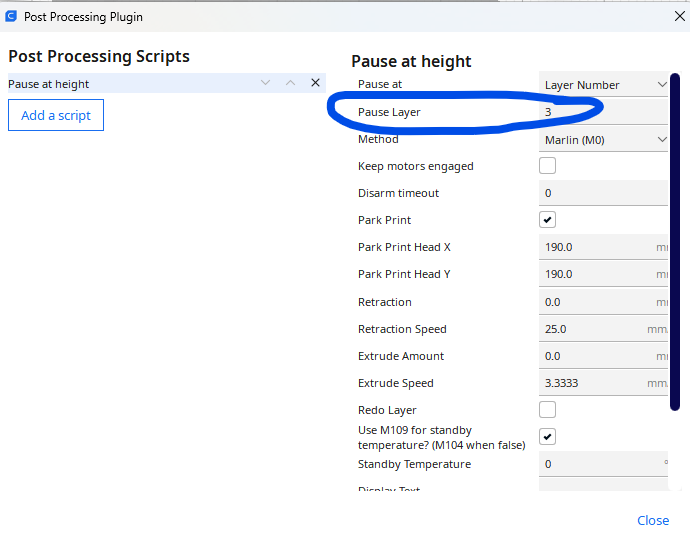
The reason why we are looking for this option is that we want to make a filament swap when the base layer ends and the actual details of the card start. I unfortunately don't have one of those printers that does the swap for you, so we have to do this manually (both for the code and for the physical filament swap). For this card, the base layer goes up to layer 3, and the details start on layer 4, so we want to make a "Pause At Height" change at layer 3. Then, we can switch out the filaments and give the card some color contrast.
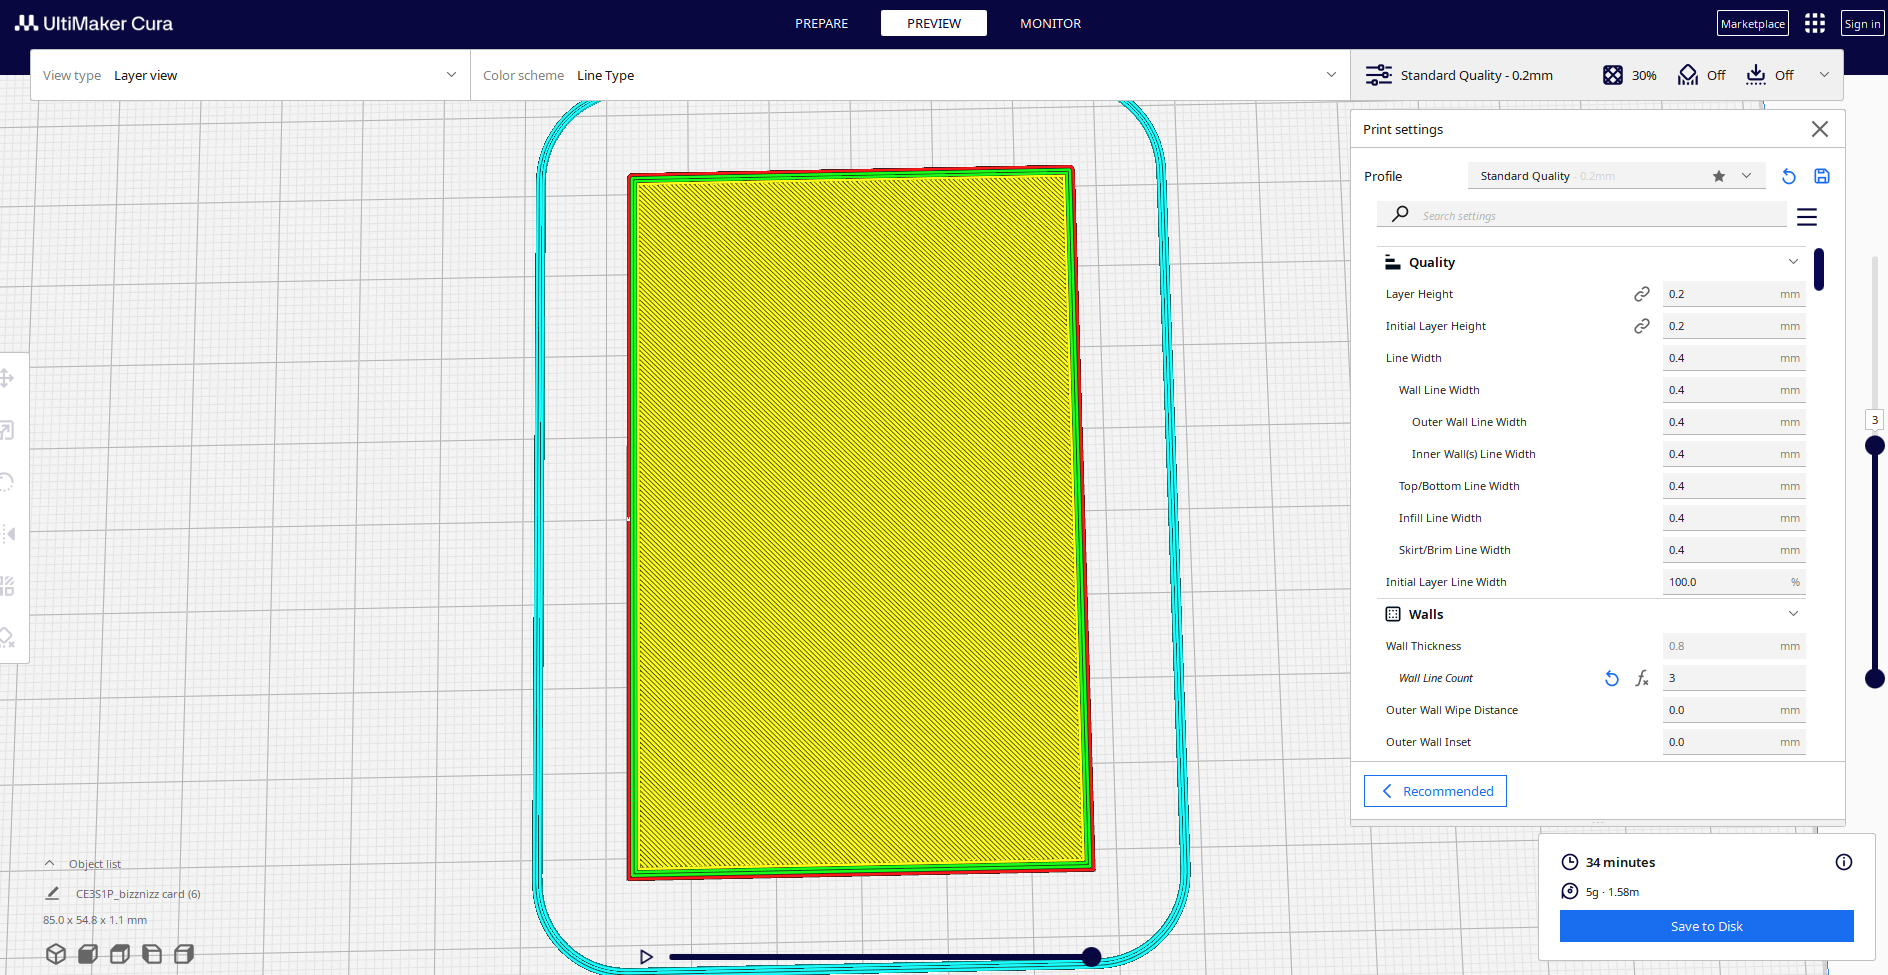
Next and final step is to upload the GCODE to the printer, and you are good to go! Because the prints are so small, they usually finish in about 30ish minutes.